Focus Stacking Your Jewelry Images
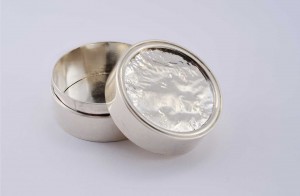
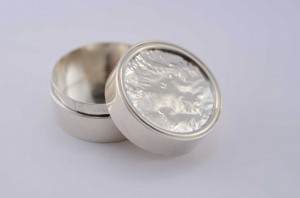
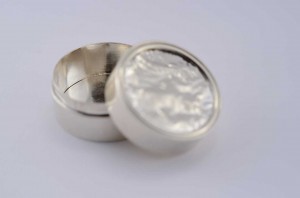
If you are taking pictures of larger jewelry pieces with a macro lens and you are shooting at a small apertures like f/11, then your depth-of-field may restrict your images to only having a portion of your object in crisp focus at a time. The pictures of the pill box below are a great example of what I’m talking about.
Focus on the Front Edge
Focus on the Back Edge
Focus stacking is a process in which you place your camera on a tripod in a fixed position and take several shots focused at slightly different points. The images are then blended using Photoshop so that only the sharpest parts from each are visible in the final composite image.
Here is what you do
1Place your camera on a tripod and set your camera to Manual Mode (M). If you leave your camera on Shutter, Aperture or Automatic, your camera will pick different exposures for each shot based on what the camera’s internal sensor sees in the frame. You want the same exposure between frames. Set your ISO to 100 or 200. Set your aperture to f/11.
2Pick your desired exposure. Frame the image that you want and take a shot. If it’s too bright, increase the shutter speed by 1/800sec and try again. If the image is too dark, decrease the shutter speed by 1/200sec. Keep at it until you get the exposure that you are happy with. Alternatively, you can cheat and use a hand held light meter to pick the exposure like I did.
3Take all the shots. Set your camera to Manual Focus (MF). If your camera supports Live View mode, turn it on and use its zoom function to help you focus. Turn the focusing ring until the very front your piece is in focus and take a shot. Move the focus toward the center of your piece and take another shot. Shift the focus further back and take as many shots as need to get to the back of your piece. It is extremely important that you don’t move the camera and tripod set up when you do this. If there is any movement at all, the stacking of images won’t work properly.
4Upload the files to your computer and place them in your favorite working directory. Examine the files and rename them so that you can order them front to back when you put them into Photoshop.
5Start Photoshop and go to File->Automate->Photomerge and when the window appears, click Browse and open all of the images from your working directory. UNSELECT the Blend Images Together option and then hit OK.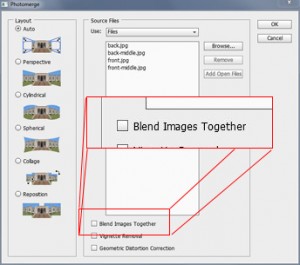
6Organized your layers in Photoshop so that the back most image is at the top of the layer stack and the front most image is at the bottom.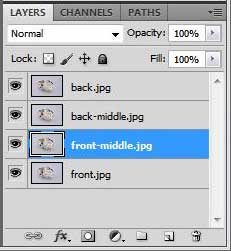
7Next turn off all the layers except for the front two layers, by clicking on the eye for that layer. Then, click on the front-middle.jpg layers to highlight it and then click on the ADD LAYER Mask icon at the bottom of the Layers palette. (It’s the icon with the rectangle with the circle in it.)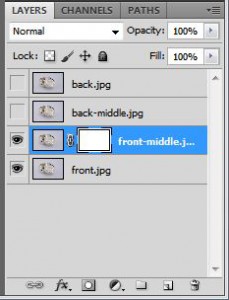
8Now, got to Edit->Fill and set the Contents Use to Black, the hit OK. Select the Brush Tool from the Toolbox, set it to a soft brush of about 100px. Press D on your keyboard to set the foreground color to White. Zoom in as close as you need to by using CTRL++ and carefully start to paint over the middle section of your piece revealing the sharper focused areas.
9If you make any mistakes, hit X on the keyboard to switch the foreground color and paint over the mistake. When you’ve fixed the mistake, hit X again to swap the colors back and continue painting with your brush until you are done with this layer.
10Now go back to the layers menu, click on the eye associated with the back-middle layer to make that layer visible. Add a layer mask here as well. Then repeat step 8 for this layer. When you are done, make the last layer visible, add a layer mask, and paint over it’s unfocused sections to reveal them.
11Merge the visible layers by going to Layers->Merge Visible. Then, I go to Filter->Sharpen->Smart Sharpen, select the Basic Tab, setting the Amount to 75% and the Radius to 1px, then hit OK. I usually also go to Edit->Adjustments-Brightness/Contrast and set the Contrast to 45 before clicking OK to punch up the image a little bit.
12Select the Crop tool from the Toolbox, select the final image that you want cutting off and edges you don’t want. Save your work as a JPG using File->Save As and you are done! 